What Is 3D Design Filler? How Custom Planning Differs from Standard Filler
3D design filler is not simply about filling in volume. It considers facial contour and dimension together, defines the role of each area, and then decides the amount, depth and location of the injections. Because each area, such as the cheekbones, cheeks, chin, nasolabial folds, forehead and temples, has a different purpose, the key to the design is not just where and how much to inject, but why that amount goes in that spot.
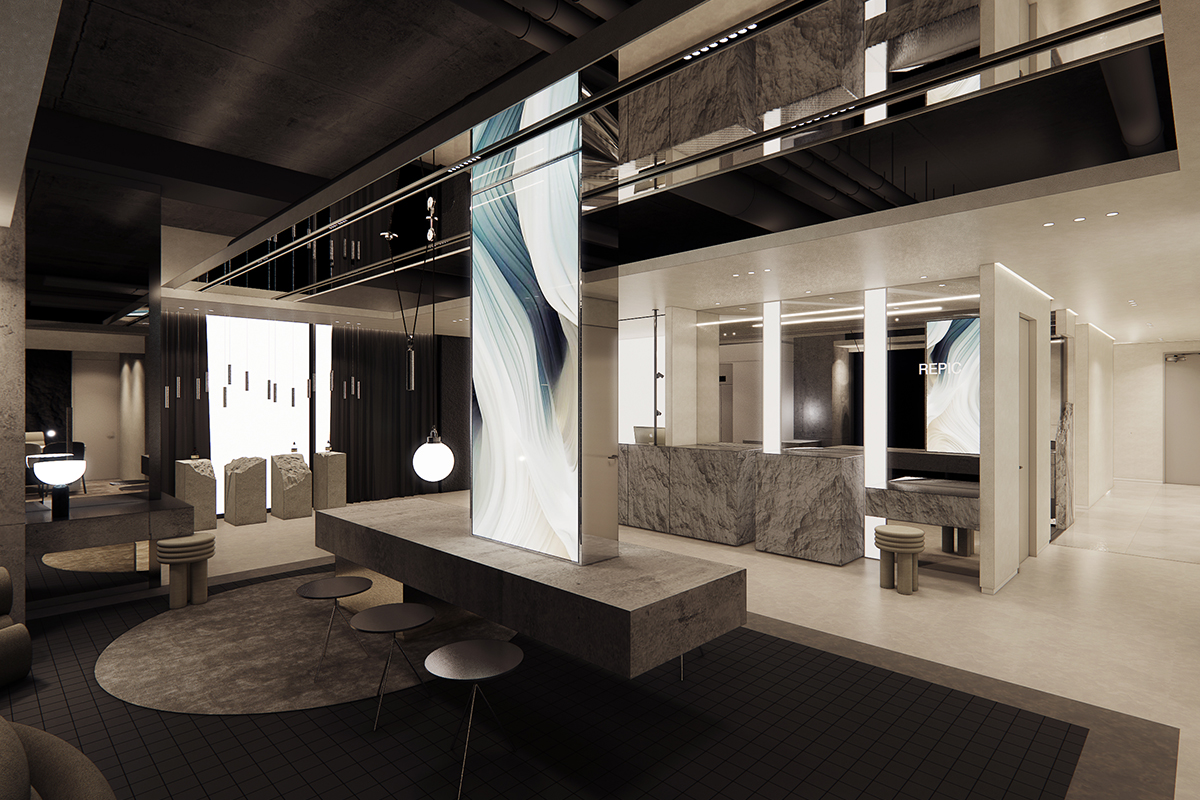
Repic Clinic in Gangnam has established this approach as a treatment philosophy called the "Design Series." Under an operating principle of not deciding on a treatment plan without diagnostic data, every 3D design filler treatment follows the four steps below.
The 4 Steps of 3D Design Filler Planning
-
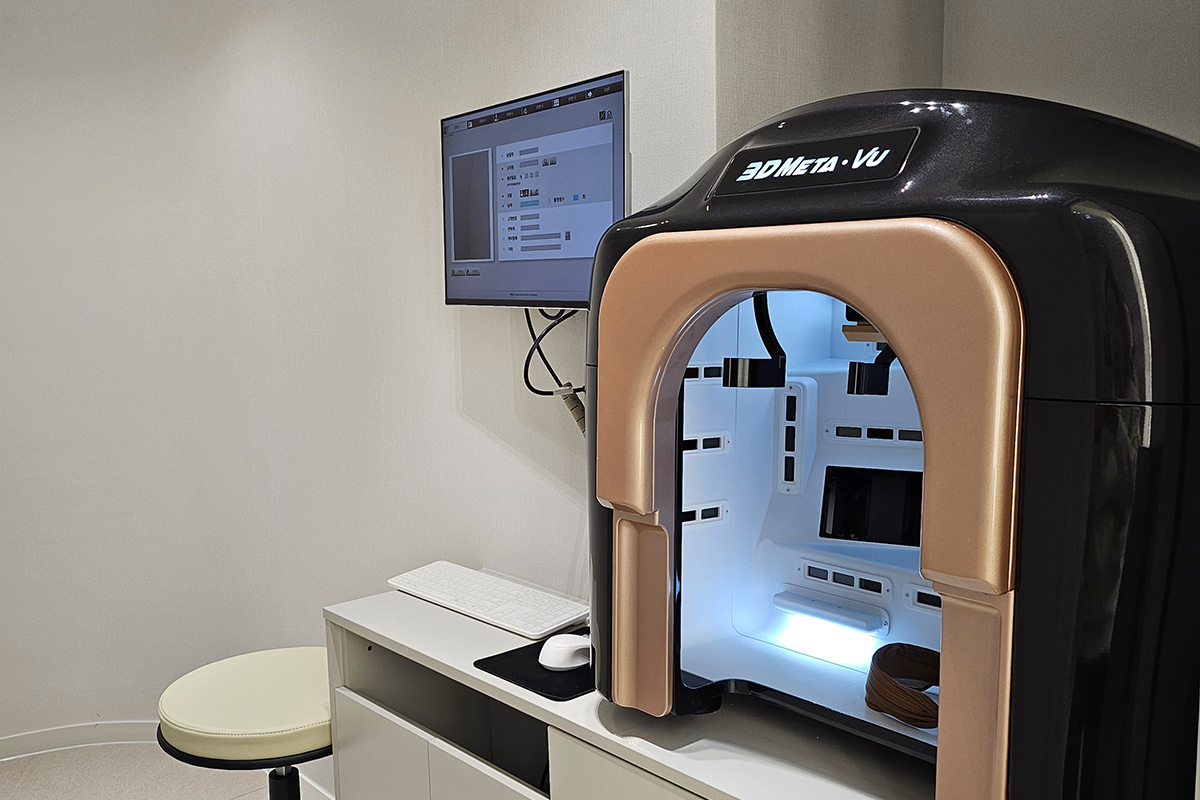
STEP 1 — Dual Diagnosis: Meta View + Mark-Vu
Before treatment, Meta View analyzes the skin surface (skin tone, pores, pigment distribution and surface texture) in 3D, and Mark-Vu quantifies skin thickness, firmness, hydration and the location of sagging. Reading the data from both devices together makes it possible to tell which area is hollow and why. The design direction for filler differs depending on whether the loss is age-related volume loss or a shadow caused by bone structure.
Repic Clinic states as an operating standard that it does not decide on a treatment without diagnostic data, and it does not recommend areas that the diagnosis does not show a need for.
-
STEP 2 — Design: Deciding the Purpose and Amount for Each Area
Based on the diagnostic data, the doctor writes the treatment plan personally. If the goal is to soften nasolabial folds, the plan first identifies volume loss in the middle of the cheek and builds support from top to bottom. The forehead and temples help balance overall facial proportions, and the chin is designed as the finishing point of the contour.
The amount injected depends on the function of each area. Areas that need a supporting structure, such as the cheeks, and areas where the aim is surface improvement, such as the nasolabial folds, differ in filler formulation and injection depth.
STEP 3 — Treatment: Injecting According to the Plan
Each area is treated in order according to the plan. For example, the lower face contour may be refined with jaw Botox, and then dimension is added with chin and cheek filler. Whether to combine treatments is decided based on the diagnostic results and your goals, and it is appropriate to confirm this through a consultation.
-
STEP 4 — Follow-Up: Comparing Data After Treatment
After treatment, the Meta View and Mark-Vu data are compared with the data from before. Filler can be absorbed or shift position over time, so tracking changes with data becomes the basis for the next treatment plan. This step makes it possible to redesign according to your current condition rather than simply repeating "the same way as last time."

Summary of Design Purpose by Area
| Area | Main purpose | Design considerations |
|---|---|---|
| Cheeks and cheekbones | Restoring mid-face support structure | Where volume has been lost, bone height |
| Nasolabial folds | Softening nasolabial folds | Planned together with cheek volume; deciding whether to inject directly |
| Forehead and temples | Balancing facial proportions | Overall contour proportions, skin thickness |
| Chin | Refining the lower face contour | Whether to combine with Botox, chin shape |
| Nose | Improving the nose bridge and tip line | Explained at consultation |
| Under-eye | Replenishing volume in hollow or dark-circle areas | Under-eye skin thickness, condition of the fat layer |
What Changes When You Follow This Order
When the four steps of diagnosis, design, treatment and follow-up are followed, each area's treatment does not work in isolation but has a role within the proportions of the whole face. Just as it matters to first distinguish whether deep nasolabial folds come from a lack of cheek volume or from looseness of the skin in the fold itself, checking the cause with data before designing is directly linked to how natural the result looks.
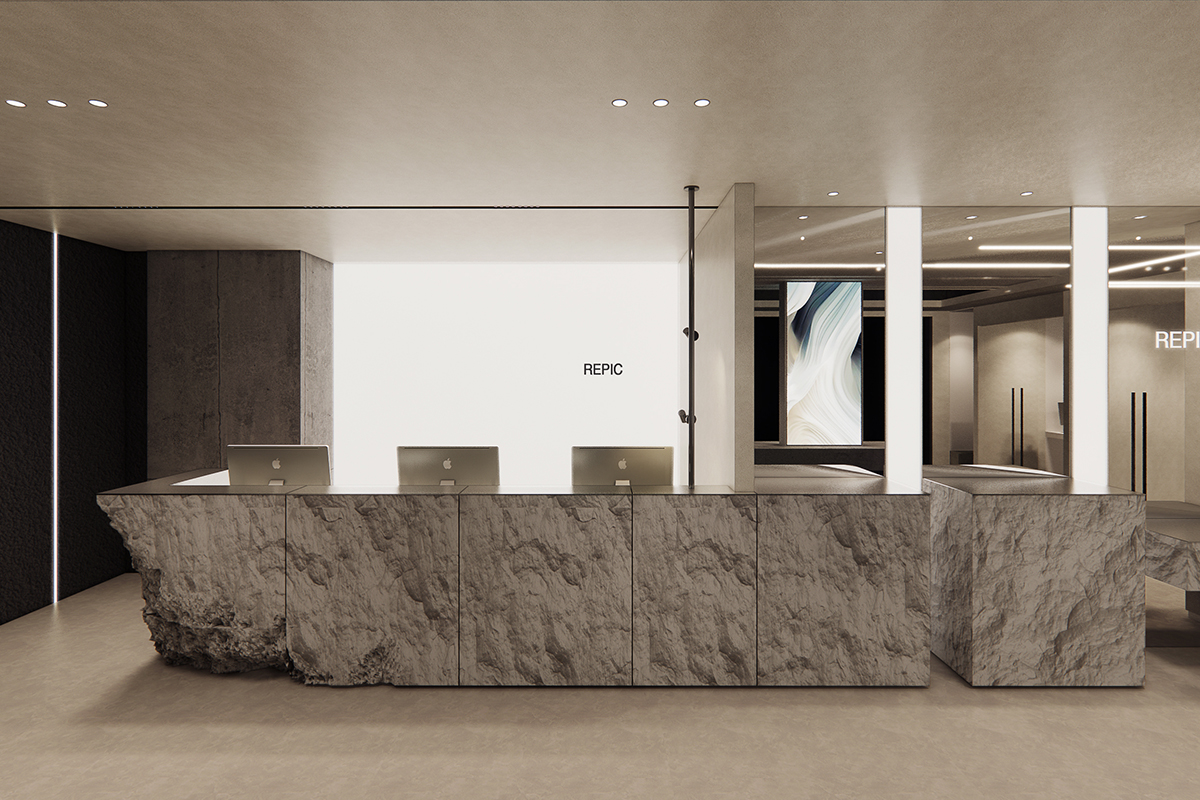
Repic Clinic in Gangnam is located on the basement 1st floor and 2nd floor at 318 Gangnam-daero, Gangnam-gu, Seoul, and runs the whole Design Series, including 3D design filler. Details on suitable areas and costs are given after diagnosis through a consultation.
Besides 3D design filler, Repic Clinic in Gangnam also offers other Design Series treatments. Design Ulthera is a lifting protocol that plans the treatment locations and energy levels like a blueprint based on Meta View and Mark-Vu diagnostics, and Design Thermage varies intensity and shot count by area based on pore and firmness data. Design Lifting is an integrated approach that combines Ulthera, Thermage, thread lifting, filler, Botox and more according to the cause of sagging, and Design Tone-Up analyzes the causes of pigmentation, redness and uneven skin tone with diagnostic data to plan toning, peels and skin boosters.
Related Official Information
You can find more details on the official website.
Repic Clinic in Gangnam (English site) →
※ This content is for general information only and does not replace a medical diagnosis or treatment. Please consult a medical professional before any procedure. Results, downtime and side effects vary from person to person.